I have a great bathroom scale. Is it an expensive scale that only does weight? Yes, and that’s exactly why I like it. No software tricks for repeatability. Just a good scale. It has one weird quirk though. It take 4 AA batteries.
“Alright. No big deal. I have Eneloops,” is my natural response to a problem like that. But this scale has an extra trick up its sleeve. If you pop in 4 Eneloops, it doesn’t turn on. When powering with non-rechargable batteries, each battery is 1.5V. Giving a total voltage of 6V. But recharable AAs have a slightly slower voltage. 1.2V, specifically. So four of those is a measly 4.8V. A whole rechargable AA’s worth of voltage off from the non-rechargables.
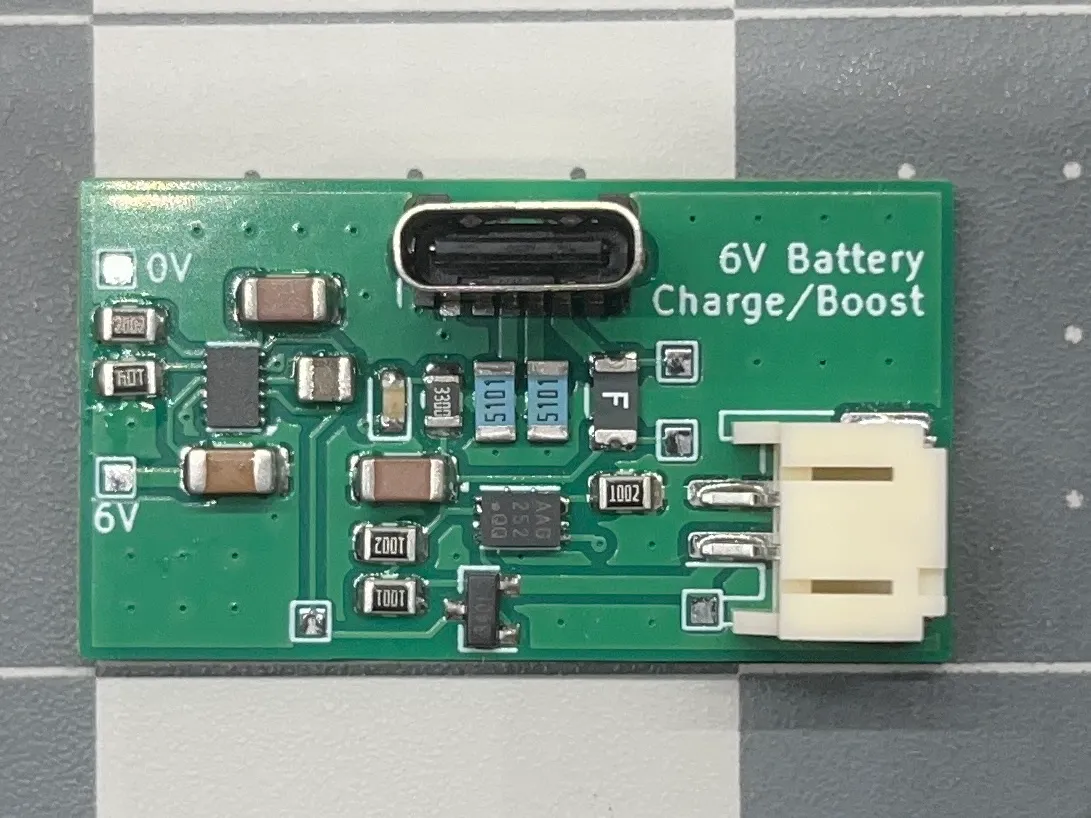
So like the perfectly reasonable and sensible person I am, instead of just saying “oh well the batteries last like 3 years, this doesn’t really matter,” I designed a hardware solution. Behold, a PCB for using a lithium ion pouch in my bathroom scale.
So… what does it do?
There are two main functions to this PCB. Charging and discharging. Truly remarkable stuff, I know.
Charging
First, we have to be able to charge up the battery after it’s been installed. So I did what any self respecting electric engineer would do and copied Sparkfun’s homework. Specifically, I used the MCP73831 charge circuit from Sparkfun’s LiPo Charger Basic. I’ve adjusted it to only charge at 100mA instead of 500mA, to keep the battery plenty healthy.
The PCB uses this chip to take power from an onboard USB-C port and charge the battery. While the battery is charging, supply to the scale is shut off. This is in part due to the fact that, much like Apple’s Magic Mouse, you have to flip the scale over to charge it. In Apple’s case, it’s an awful design decision. In my case, it’s the only way I can do it without cutting holes in my scale.
Discharging
When no power is being applied via the USB-C port, the battery’s power is routed through a TPS61096A. It’s an overkill chip for this application, but I like using cicruits that I can reuse. And this is a circuit with a huge range of applications. It boosts the battery up to 6V, and thus gets the scale running. It’s not rocket surgery, but it solves our problem.
Putting It All Together

It’s a pretty straightforward schematic. Power comes in from the USB-C port, runs through a 500mA fuse for safety, deactivates the output, and provides power to the charge chip. When charging, there’s a small red LED that turns on to let the user know that it’s not done charging yet. When unplugged, the battery can then be routed to the p-channel mosfet to the boost converter and out to the scale.
You could adjust the voltage through the resistors, so it’s a surprisingly general purpose board for all of your random battery boosting needs, if you have those.
Conclusion
It probably wasn’t the right choice to build this solution to my scale powering troubles, but boy was it fun. It’s a simple enough circuit and let me try out the TPS61096A and MCP73831. I look forward to using these two more in the future.
Thanks for reading!
Back to top